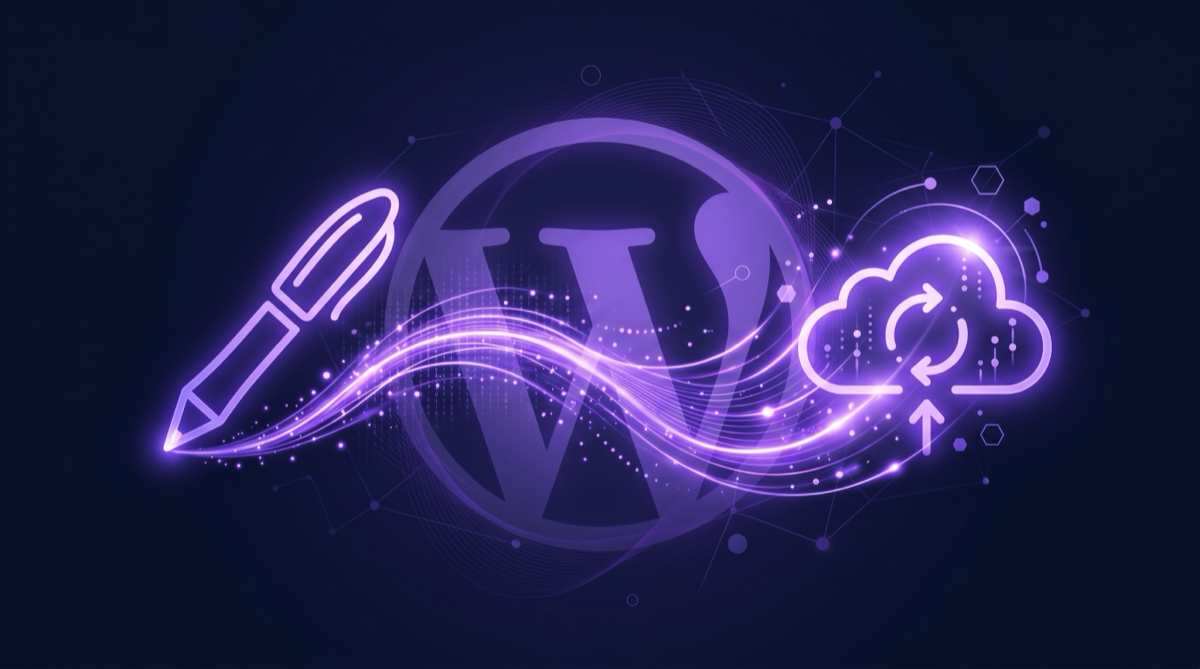
Write First, Sync Later: How Notipo Works Without Notion
People keep asking me if they need Notion to use Notipo. The name doesn't help — “Notipo” sounds like it's all about Notion. Fair assumption, but no. You can use Notipo without ever opening Notion.
Here's how the writing-first flow works, step by step.
Step 1: Connect Your WordPress Site
After signing up, you add your WordPress site using an application password. This takes about two minutes. Notipo verifies the connection and pulls in your existing categories and tags.
That's the only setup. No Notion OAuth, no database template, no workspace configuration.
Step 2: Write in the Markdown Editor
Click “New Post” and you get a clean markdown editor. No distractions, no sidebar, no block palette. Just a title field and a writing area.
The editor supports standard markdown: headings, bold, italic, links, ordered and unordered lists, blockquotes, inline images, and fenced code blocks. If you've written a GitHub README, you already know the syntax.
You can also set the category, tags, and SEO metadata (focus keyword, meta title, meta description) right from the editor. These fields are optional — Notipo will generate sensible defaults if you leave them blank.
Step 3: Hit Publish
When you're ready, click Publish. Here's what Notipo does behind the scenes:
- Markdown to Gutenberg — your markdown is converted to proper WordPress Gutenberg blocks, not just raw HTML. This means your posts look native in the WordPress editor if you ever need to edit them there.
- Image upload — any images in your post are uploaded to your WordPress media library with permanent URLs. No expiring links, no broken images.
- Featured image — if you have AI featured images enabled (Pro), Notipo generates a branded 1200×628 image based on your title and category. If not, you can upload one manually or skip it.
- Code highlighting — fenced code blocks are converted to Prismatic plugin blocks with automatic language detection. Your code looks right without any manual formatting.
- SEO metadata — Notipo writes your focus keyword, meta title, and meta description directly to Rank Math via its REST API. If you use a different SEO plugin, the standard WordPress SEO fields are set as well.
The entire process takes about 10 seconds. You get a link to the live WordPress post when it's done.
What About Drafts?
You don't have to publish immediately. Save as draft and the post sits in your Notipo dashboard. You can preview, edit, and publish when you're ready. You can also publish to WordPress as a draft first — it creates the post in WordPress with “Draft” status so you can preview it on your actual site before going live.
The API Route
There's a third way to get content into Notipo: the API. Send a POST request with your markdown content, title, and metadata, and Notipo creates and publishes the post. This is how AI agents publish through Notipo— one HTTP request handles everything.
So the full picture is three input methods:
- Markdown editor — write directly in the browser
- Notion sync — connect your workspace and publish by changing a status
- API — send content programmatically
All three feed into the same pipeline. Same image handling, same SEO, same code highlighting, same WordPress publishing. The only difference is where the content starts.
When to Add Notion Later
The “sync later” part of the title is real. Some users start with the editor, get comfortable with the publishing pipeline, and then connect Notion when they want a more structured editorial workflow — databases, properties, status-based publishing, team collaboration.
Notion sync is great if you already use Notion for content planning. But it's not a prerequisite. You can publish hundreds of posts through the editor and never touch Notion.
Try It Now
The free plan gives you 5 posts per month with the markdown editor, code highlighting, and SEO metadata. Sign up here— you can publish your first post in about five minutes.
Ready to publish from Notion?
Set up in 5 minutes. Free plan available — no credit card required.
Get Started Free